
Repair Estimate for a Company Car After a Collision: What to Check Before Approving It
Before approving the estimate, compare it with the damage photos and the workshop's written repair plan. Check parts, labor, painting, diagnostics and the settlement method separately. The initial inspection may not reveal all damage, so agree in advance that any additional work identified after disassembly will be documented and approved in writing before the workshop carries it out.
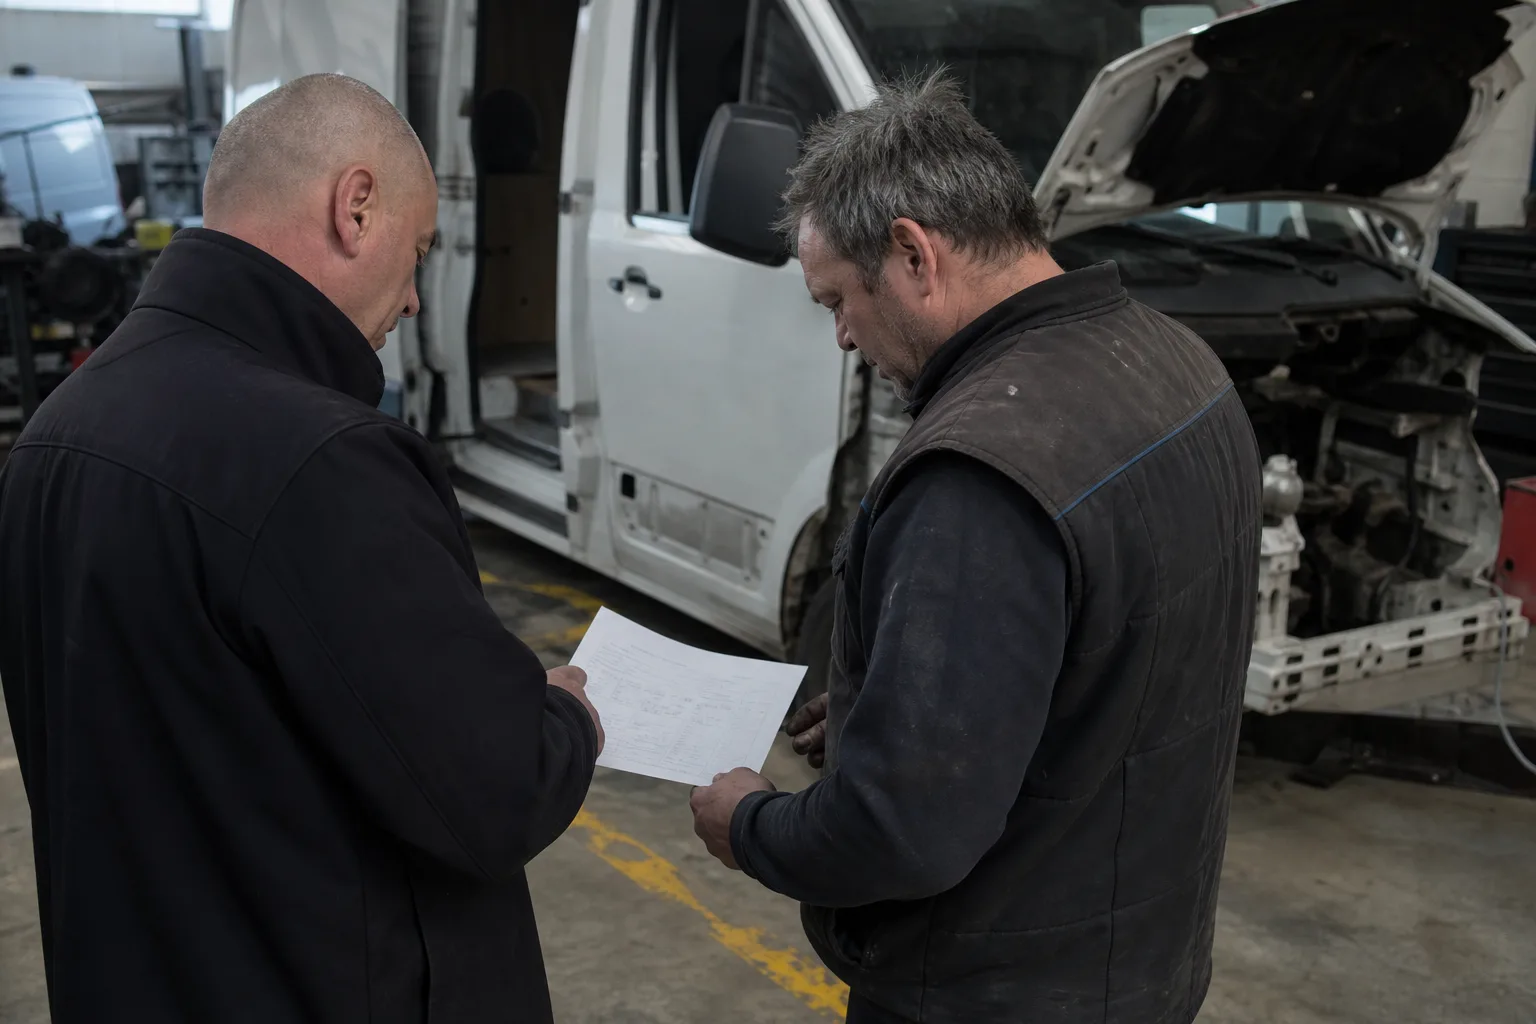
Step 1. Establish who will settle the claim and under what terms
Before comparing amounts, establish whether the repair will be settled under OC (Polish third-party liability motor insurance, which covers damage caused by the at-fault party) or the company’s AC (Polish comprehensive motor insurance). For AC, check the policy: the repair option, excess, limits, settlement method and rules for obtaining approval for additional work. Do not assume that AC terms are the same as the rules for a claim under OC.
Check that the estimate relates to the correct vehicle and incident. The registration number, VIN, model and body style, collision date and claim number should all match. An incorrect equipment version may result in the wrong parts being priced or some components being omitted.
- Record who in the company is authorized to approve costs and additional charges.
- Agree with the workshop and insurer which document is required before repairs can begin.
- Ask for an itemized estimate, not just a total amount.
Step 2. Compare the estimate with the photos and repair plan
Review the document item by item. For each damaged part, check whether repair or replacement is planned and whether the necessary removal and refitting of adjacent components is included. Compare the scope with photos taken at the scene and during the inspection. If the estimate contains only a summary item, such as “front-end repair,” ask for the work and parts to be itemized.
Not every item proposed by the workshop necessarily follows from the damage. Ask which work is required by the repair procedure for that specific vehicle and which items are the workshop’s recommendations. This lets you assess the scope before the company or insurer approves it.
For a van, pay attention to components that affect its use: sliding and rear doors, locks, steps, bodywork, equipment mounts and the load-area floor. Damage can limit the vehicle’s use even when it appears minor from the outside.
- Are all visibly damaged components included?
- Is repair or replacement specified for each one?
- Is removal and refitting described for parts that must be taken off to carry out the repair?
- Does the scope match the photos, inspection and workshop description?
Step 3. Check the parts, labor and painting
The parts list should make it possible to identify what will be installed: the name or catalogue number, quantity, price and type of part. Check whether the parts are new, original or aftermarket. If the estimate specifies a different part from the one the company expected, ask the workshop or insurer to explain why and how the proposed solution will restore the vehicle to its pre-loss condition. There is no single answer that applies to every make, claim and policy.
Review labor separately for bodywork, paintwork and mechanical work. Check the work description, number of labor hours and hourly rate. If the rate has been reduced, ask for the basis for the reduction and the prices of the workshops used for comparison. For an OC claim, the insurer should give specific reasons for any disputed items. An estimate-based settlement and a workshop repair settlement may result in different amounts, but that does not mean the discrepancy should be accepted without an explanation.
A line item for “painting” alone does not guarantee that the full required scope has been included. Check surface preparation, materials and work on adjacent components where these are required by the repair procedure. Ask the workshop to link these items to the specific damage scope rather than relying on a general description.
- Verify the type, quantity and price of the parts.
- Compare the labor hours and rates for each type of work.
- Check that the estimate includes materials and the full, justified scope of painting.
Step 4. Ask about diagnostics and damage found after disassembly
If the collision may have affected a wheel, suspension, windscreen, headlight, camera, radar or sensors, ask the workshop whether the manufacturer specifies diagnostics, wheel alignment, headlight adjustment or system calibration for this vehicle version. Do not assume that every one of these procedures is necessary. Ask for the basis for each procedure for the relevant model, and for confirmation that it was completed if required.
Some damage becomes apparent only after the bumper, covers or other components have been removed. This does not mean every additional charge is justified, nor that the estimate from the initial inspection is a complete repair plan. Agree on the procedure before the workshop starts work.
- The workshop documents additional damage with photos and a description.
- It prepares a supplementary estimate before carrying out additional work.
- An authorized person at the company approves the scope and cost in writing.
- The insurer’s approval is obtained when required by the settlement method or policy.
Step 5. Agree the amount payable, VAT and settlement method
Check that the document shows net amounts, VAT and gross amounts. Ask your accounting team what portion of the VAT on the repair can be reclaimed in your circumstances. This is particularly important for a leased vehicle: identifying who owns the car does not by itself determine how the company can account for VAT.
Separate the repair cost from the amount the company will ultimately have to cover from its own budget. Factor in the AC excess, any limits and policy terms, and, for a leased vehicle, check whether additional approvals or documents are required. For an OC claim, if the insurer reduces the estimate, ask it to identify the specific items, rates and parts prices it used. Do not treat a general reference to “cost optimization” as an explanation.
Do not approve the repair solely because the estimate falls within a general budget amount. The company needs to know what scope the estimate covers, what may require an additional payment and who is authorized to approve that payment. AC rules do not automatically follow from OC rules, so check the policy terms before making a decision if anything is unclear.
- Are net amounts, VAT and gross amounts clearly shown separately?
- Are you aware of the excess, limits or other restrictions under the AC policy?
- Have you agreed who will cover the difference if the insurer and workshop value the repair differently?
Step 6. Approve only the complete scope and collect the documents
Before approving the work, ask for the current estimate, photos of the damage, a description of the planned work and details of any items that may change after disassembly. Record the agreed process for approving additional charges. A phone conversation does not give the company a clear decision record, so ask for confirmation by email or another durable channel.
When collecting the vehicle, compare the invoice or final calculation with the approved scope and any approved supplementary estimates. Ask for a list of the parts used, as well as diagnostic documents and confirmation of calibration or adjustments if required. Keep photos, correspondence, approvals and the final settlement in the claim file. This makes costs easier to verify and helps prevent disputes on future claims.
- Do not approve work without a description or additional charges agreed only by phone.
- Do not allow additional work to begin without written approval from an authorized person at the company.
- Keep the final invoice, parts list, photos and confirmation of completed procedures.
Summary
Operationally, the safest approach is to approve a specific scope of work, not just an amount, and to document every change identified after disassembly and obtain written approval for it. For a fleet of several or several dozen vehicles, a dedicated FleetPoint account manager can coordinate contact with the workshop and insurer, track approvals for additional work and compare the estimate with the final settlement. Ongoing service oversight and clear documentation help limit unapproved charges and get the vehicle back to work sooner.
More from the FleetPoint knowledge base
Coolant in vans before winter: planning a check of frost protection
Find out which vans need a pre-frost coolant check, how to interpret the test result and plan visits without unnecessary downtime.
Read article
Lighting checks for a delivery fleet: how to plan inspections and repairs without unnecessary downtime
How to check company van lights, record faults and schedule measurements and repairs without taking several vehicles off the road at once.
Read article
Diesel van will not start after an overnight frost: when to book fuel system diagnostics
Find out what symptoms to report, when to hold a van back from a trip and what the workshop should check in the fuel system.
Read article