
Replacing a Van's Timing System: How to Schedule the Work and Avoid Downtime
Set the replacement interval for the specific vehicle, not just the model. Ask the workshop to verify it using the VIN, engine code, and service history. Then enter the applicable mileage and time limits in your fleet plan, if the manufacturer specifies both, and book the service in advance. If there is no document confirming when the timing system was last replaced, treat its history as unknown, not as proof that the system is new.

1. Check the interval for the specific engine
The Sprinter, Crafter, and Transit do not have one universal timing system replacement interval. A model can be offered with different engines, model years, and design configurations. Service schedules may also vary. The model alone, engine displacement, or information from the previous owner is not enough to order parts and enter a date in the fleet calendar.
Start with the VIN and engine code. Ask an authorized service center or a workshop with access to technical data to confirm the type of timing drive and the schedule that applies to the specific vehicle. The owner’s manual may help, but if you have any doubts, confirm the interval in the service documentation or directly with a service center. Ford advises that the belt or chain schedule should be determined for the specific vehicle. This is a good rule for other brands, too.
Record the mileage and time limits if both are specified. The earlier limit applies. Do not use the interval from another Transit or Crafter. For example, a recommendation for the Crafter 2.0 TDI CR described by Schaeffler is not a standard for all Crafters. For a chain, do not automatically assume that it must be replaced according to a belt replacement schedule. The service center should check the criteria for the specific engine.
- Prepare the VIN, model year, engine code, and current mileage.
- Ask whether the vehicle has a belt, chain, or another system, and which schedule applies to this version.
- Record the confirmed time and mileage limits in the vehicle file.
2. Establish what is actually known about the vehicle’s history
Before setting the next due date, check the invoice, service book, or electronic repair record. The documents should show the date and mileage at the time of replacement, and ideally the scope of work performed as well. A note saying only “timing system done,” with no date, mileage, or details, does not confirm that the correct components were replaced.
If the vehicle was purchased second-hand, ask the previous owner for the documents, then verify them with a workshop. If there is no confirmation, mark the history in your records as unverified. Do not enter a fictitious replacement date based on a verbal statement. Have a service center assess the vehicle and determine the next steps before assigning it further intensive work.
The absence of noise, a dashboard warning, or visible damage does not confirm that the timing system is safe. A belt can fail without giving the driver a warning or time to react. A belt that breaks or jumps can cause serious engine damage. That is why the plan should be based on documentation and the correct schedule, not on listening to the vehicle.
- Keep the date and mileage of the previous replacement in the fleet register, along with a document confirming the work performed.
- If reliable information is unavailable, enter the status: history unverified.
- Do not postpone verification just because the engine is running quietly.
3. Translate the interval into a practical fleet calendar
Once you know the correct limit and the last confirmed mileage, estimate when the vehicle will reach it. Subtract the current odometer reading from the remaining mileage to the limit, then divide the result by the vehicle’s average monthly mileage. For example, if 12,000 km remain before the confirmed limit and the van covers an average of 3,000 km per month, it may reach the mileage limit in about four months. This is a forecast, not a new service interval.
Compare this estimate with the time limit. Enter the earlier due date in the calendar, then allow for workshop lead times, parts delivery, and your own operational buffer. Do not book the appointment for the final week before the limit. If your company handles seasonal work, schedule the service before the busy period, not in the middle of it.
Review the vehicle list regularly, for example during monthly service planning. Changes to routes, additional trips, or increased workload can quickly make a forecast based on previous months outdated.
- Calculate: remaining mileage to the limit divided by average monthly mileage.
- Compare the forecast with the time limit and use the earlier date.
- Allow a buffer for workshop availability, parts, and operational cover.
4. Agree on the scope of work and estimate before booking
Give the workshop the VIN, mileage, engine code, available documents, and information about the vehicle’s planned period of use. Ask for written confirmation that parts will be selected using the VIN, not just the model name. Confirm what the quote includes: the belt or components applicable to the specific timing system, the tensioner, pulleys, and, where appropriate, the water pump and single-use components.
When replacing a belt, associated components such as the pulleys and tensioner are often replaced as well. However, the scope depends on the design and parts catalog for the specific engine. Ask why the workshop recommends a particular kit and whether the water pump is driven by the timing system or will be replaced as part of the job. Do not order a random kit yourself based on a part number from a similar vehicle.
Ask for an estimate that separates parts and labor, the expected downtime, parts availability, and the procedure for contacting you if an additional fault is found after disassembly. Agree that any work outside the approved scope requires your approval. Repair time and cost depend on the engine version, access, and scope of work, so do not assume one estimate applies to every vehicle of a particular make.
- Before handing over the vehicle, confirm the scope of work, parts, price, and approval process for additional costs.
- Ask when the parts will arrive and for the realistic pickup time, not just the appointment date.
- After the repair, collect an invoice or report showing the mileage and a list of the components replaced.
5. Arrange cover before the van disappears from the schedule
Timing system replacement is scheduled maintenance, so you can account for the downtime in your work schedule. Before confirming the appointment, check which deliveries or teams depend on the vehicle, whether some routes can be rescheduled, and whether another vehicle has sufficient payload capacity and the right equipment. A driver replacement does not always make up for a van with a specific body configuration.
If the vehicle earns money every day, book the service for a lower-demand day or coordinate the repair with other planned maintenance, provided the workshop confirms that the scope and timing allow it. If you do not have your own backup vehicle, check in advance whether a replacement vehicle is available. Do not assume one can be provided at short notice.
The day before the appointment, confirm the vehicle drop-off, parts availability, and agreed scope of work. Tell the driver when and where to leave the vehicle, and give the person scheduling jobs an estimate of how long it will be out of service. After collection, record the new mileage, date, and the next inspection or service date based on the confirmed documentation.
- Check which jobs and routes are assigned to the vehicle on the service date.
- Confirm that any replacement vehicle has the required payload capacity and equipment.
- Record the completed service and the next inspection or service date in the fleet calendar.
6. Take care with a timing belt that runs in oil
Some engines have a timing belt that runs in oil. In these cases, the quality and correct specification of the oil affect belt durability. Oil diluted with fuel or contaminated with other substances can have an adverse effect on the belt. Give the workshop the oil change history and the specification used, and leave the inspection and any decision to change the interval to a service center familiar with the specific engine.
If you do not know whether the vehicle has a timing belt that runs in oil, give the service center the VIN and ask it to confirm the design. Until this has been verified, do not assume that general recommendations for another engine will apply. Gather the oil change invoices, especially if the vehicle is used intensively or has an incomplete history, and discuss them when arranging the service.
- Use the VIN to confirm whether the engine has a timing belt that runs in oil.
- Give the workshop the oil change dates, mileages, and oil specification used.
- Ask the service center to assess whether the oil history affects the inspection or replacement interval.
Summary
Check your van records now and flag vehicles with unverified timing system histories. Ask a service center to verify these vehicles using the VIN before entering a service date in the calendar.
More from the FleetPoint knowledge base
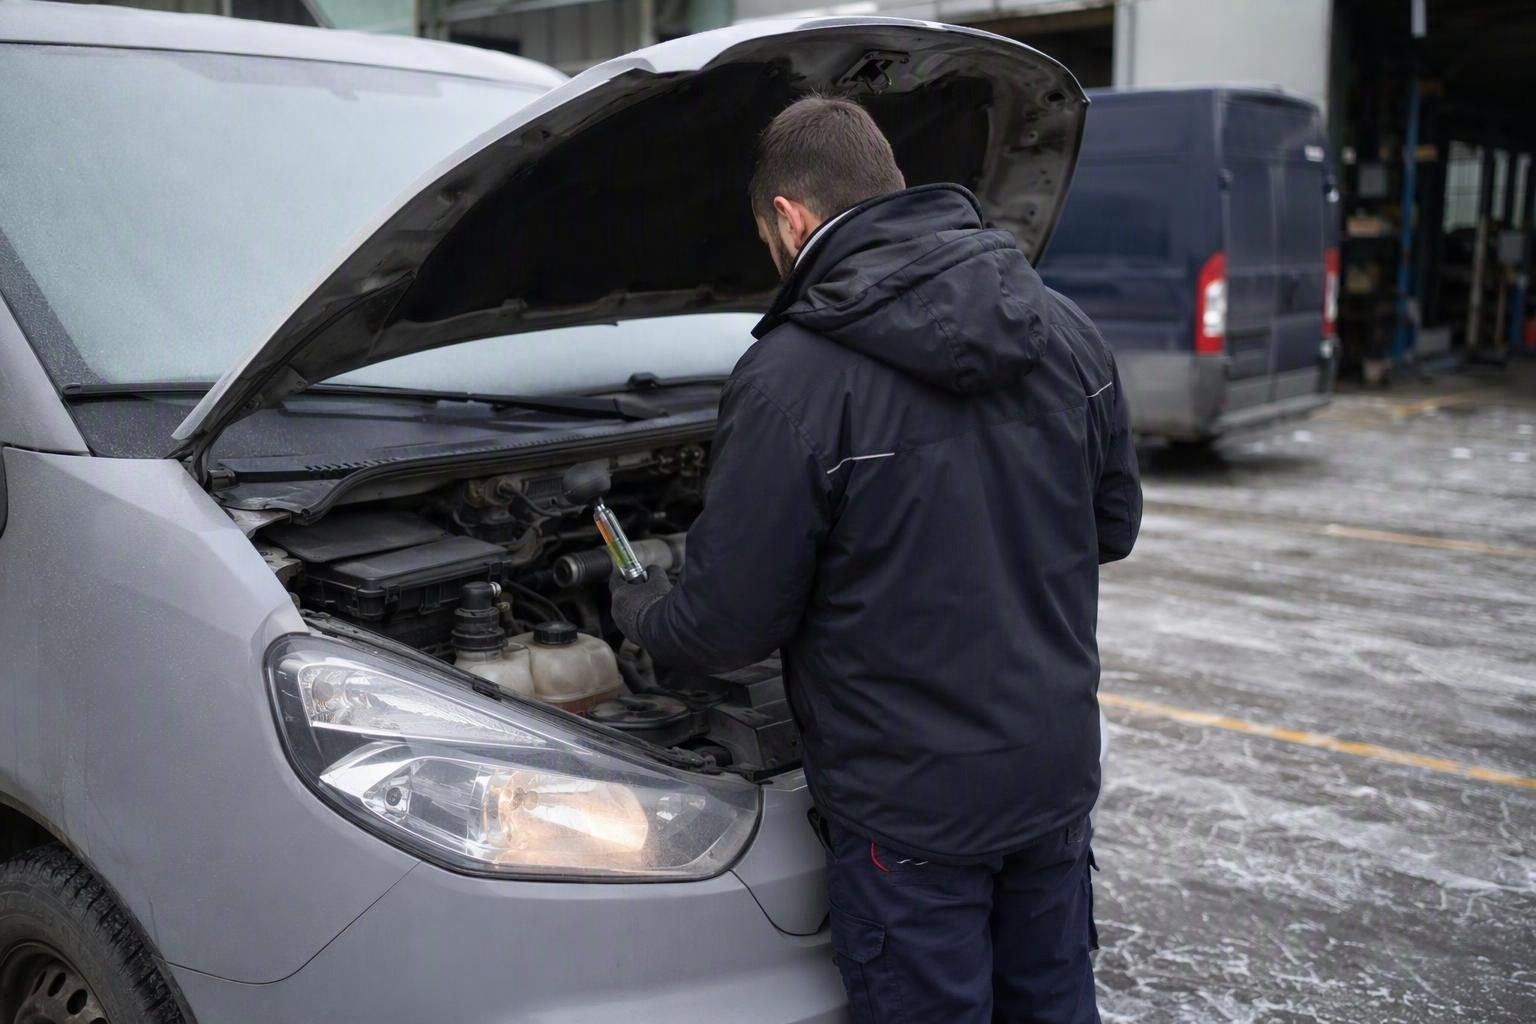
Coolant in vans before winter: planning a check of frost protection
Find out which vans need a pre-frost coolant check, how to interpret the test result and plan visits without unnecessary downtime.
Read article
Lighting checks for a delivery fleet: how to plan inspections and repairs without unnecessary downtime
How to check company van lights, record faults and schedule measurements and repairs without taking several vehicles off the road at once.
Read article
Diesel van will not start after an overnight frost: when to book fuel system diagnostics
Find out what symptoms to report, when to hold a van back from a trip and what the workshop should check in the fuel system.
Read article